Clamping And Workholding Kit
 The Clamping Kit
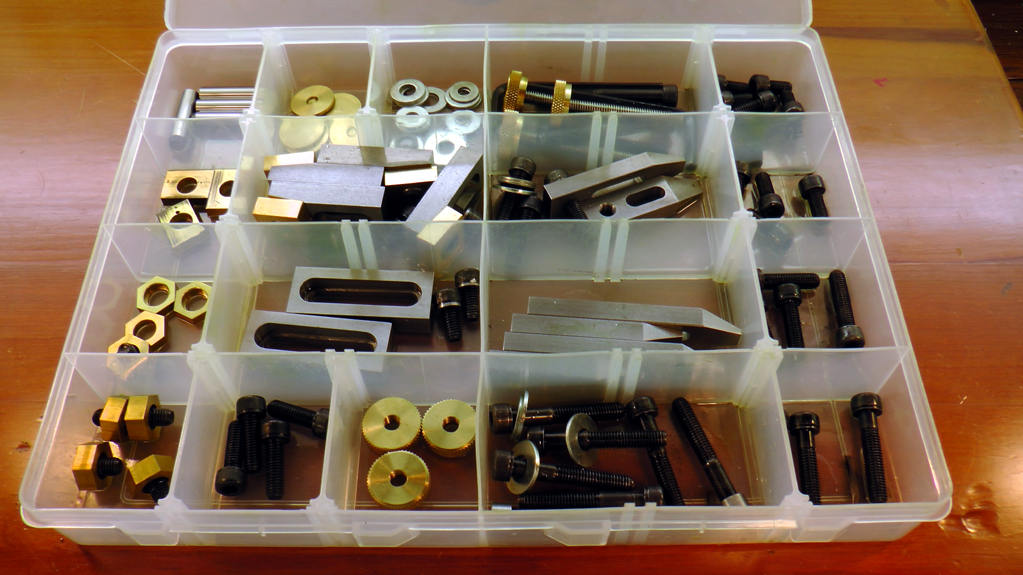
After I made the Vise Sub Table and the Rotary Table Fixture Plate, the next order of business was to make a set of clamping straps. I followed the standard sort of design, but added a few things to make it a bit easier to use.
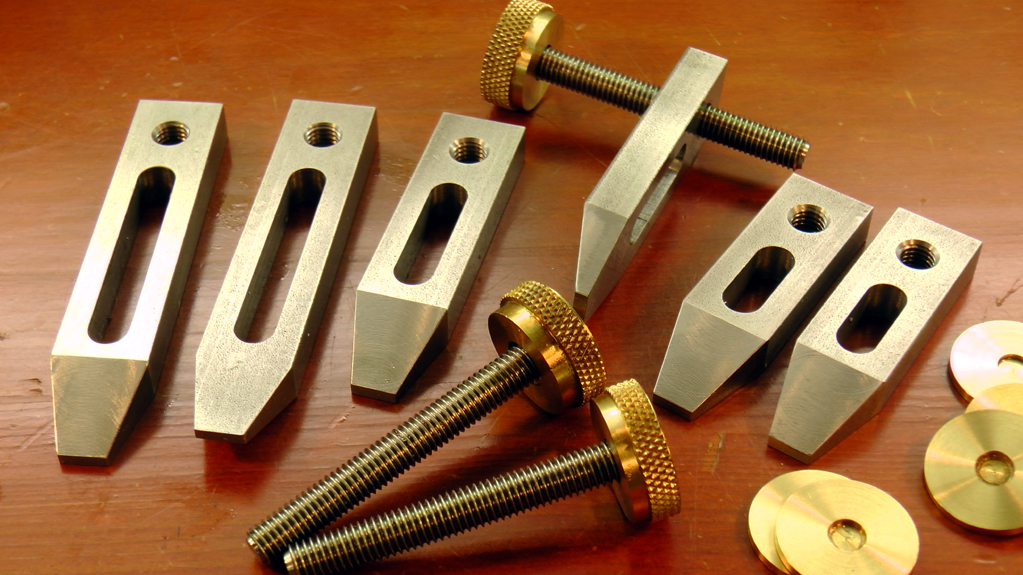
The tables are tapped M8, so standard cap screws will do the trick, but I made a set of knurled M8 thumb screws to make unfastening the clamps quicker. they make shifting the part so much easier than messing around with a hex wrench.
I also made a set of protector discs, to put underneath the thumb screws. The tables are made from aluminum alloy (due to lack of quality steel in my area), so are easily bruised. These discs slip under the screws, and protect the surface.
I also drilled and reamed the tables with an array of holes to take 10mm dowel pins, to use for locating.
Strap clamp set
|

Knurled thumb screw
|
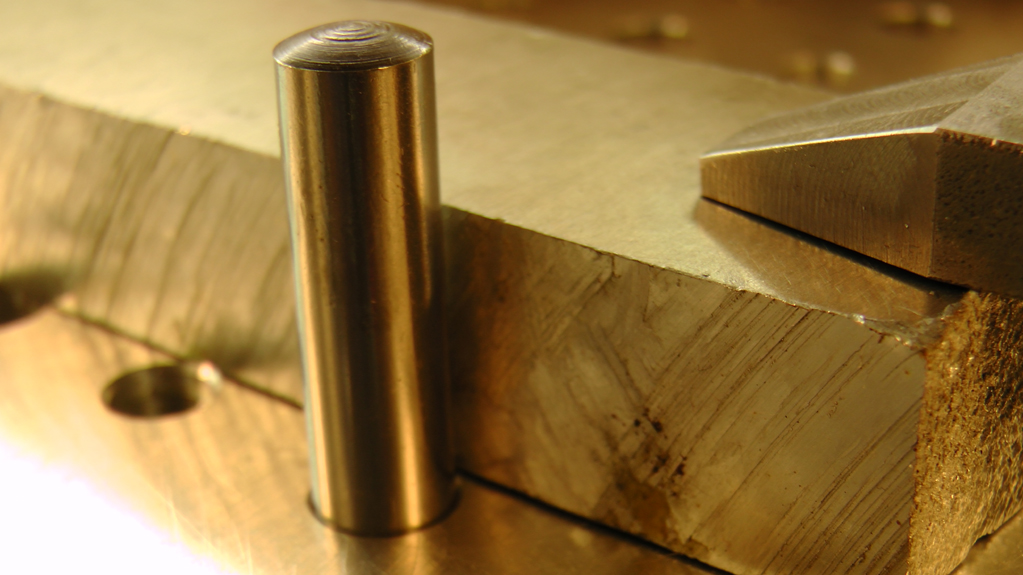
Dowel pins for repeatability
|
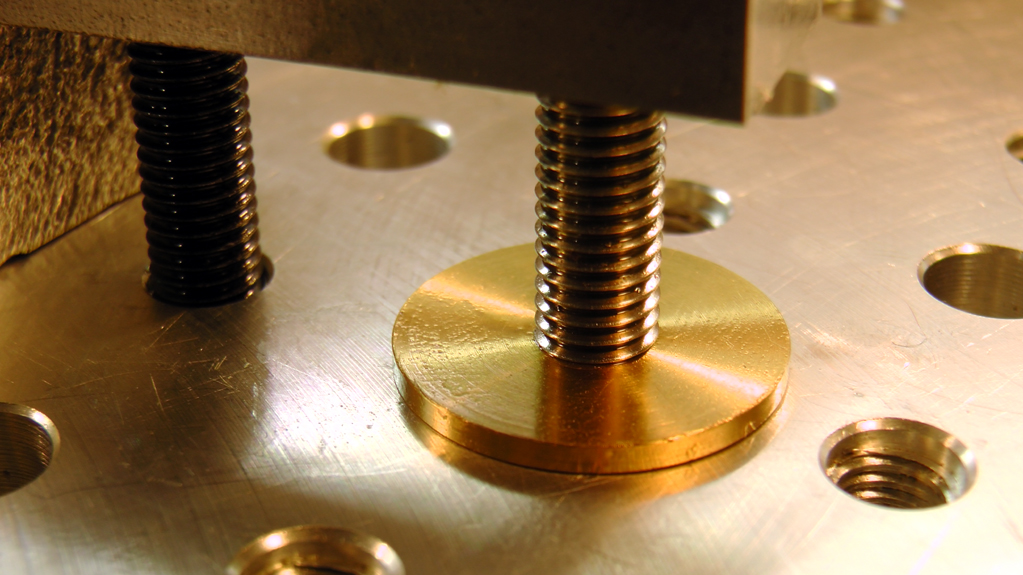
Protector discs
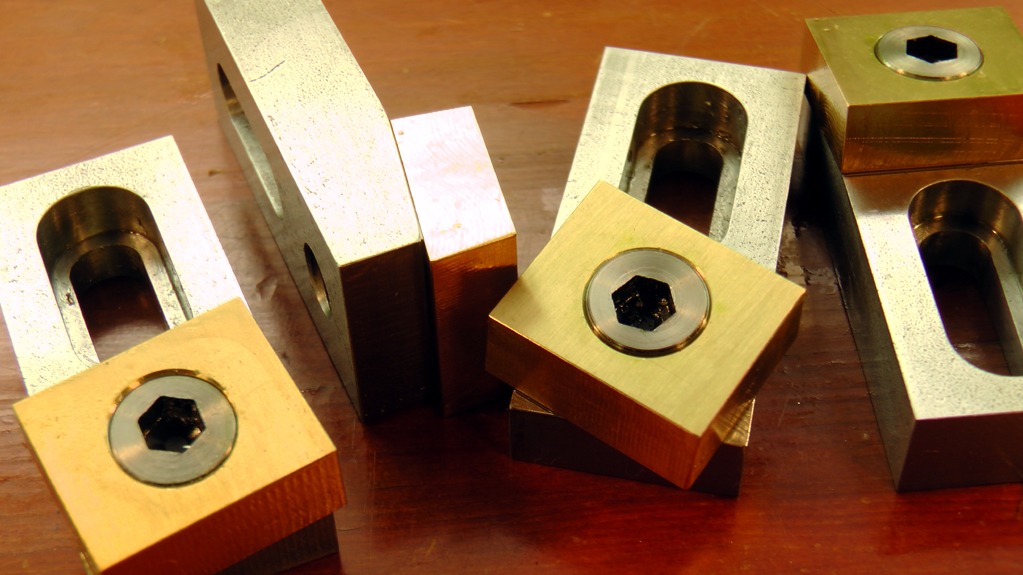
I think the Mitee Bite type holders are a great idea; so good I had to make some. I've tested them out on some of the smaller parts I've made, and they seem to work quite well. I've only subjected them to quite light loads though, so I don't know how they would go with large cutting forces. They seem ideal for small parts that need to be machined over the entire top, with light cutting loads.
Downside: They are a little bit fiddly to locate on the tables, so that maximum force will be applied when they are twisted. They also don't provide a strong down force on the part. I tend to tap the part down after clamping, and only use them for parts that experience downward cutting forces.
Downside: They are a little bit fiddly to locate on the tables, so that maximum force will be applied when they are twisted. They also don't provide a strong down force on the part. I tend to tap the part down after clamping, and only use them for parts that experience downward cutting forces.
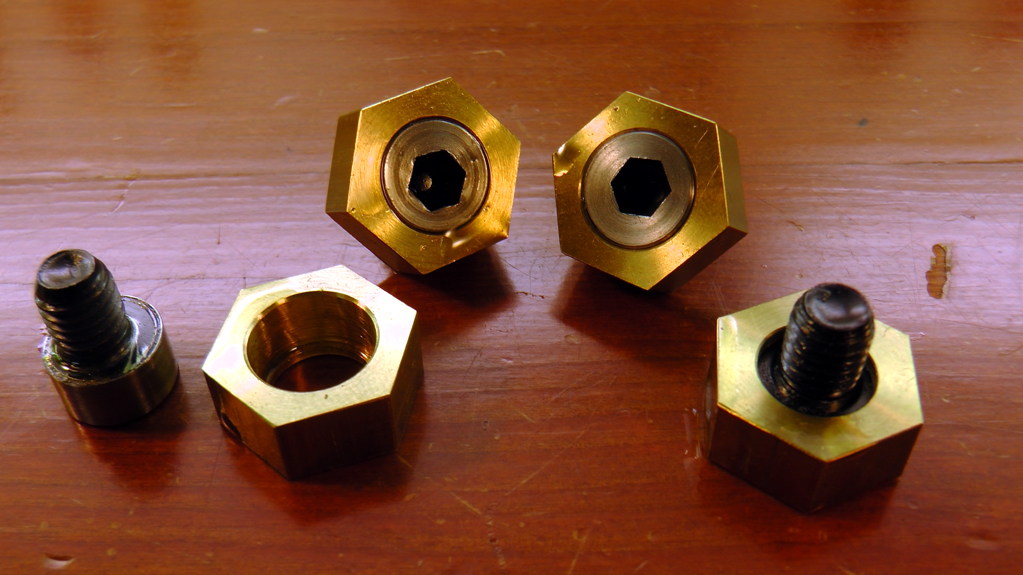
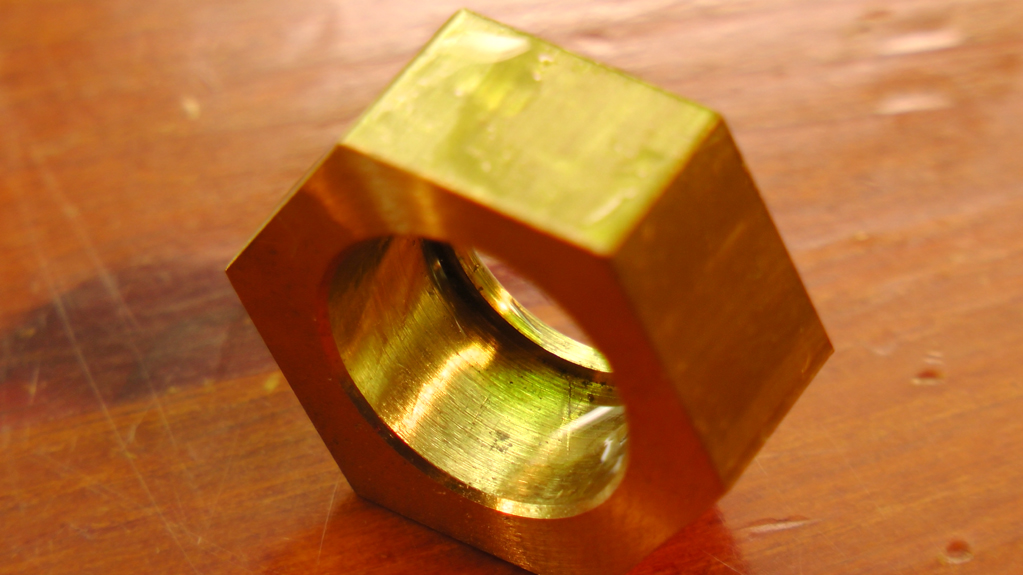
My Tea Byte?
|
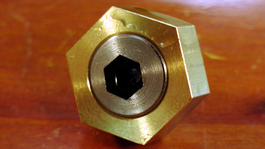
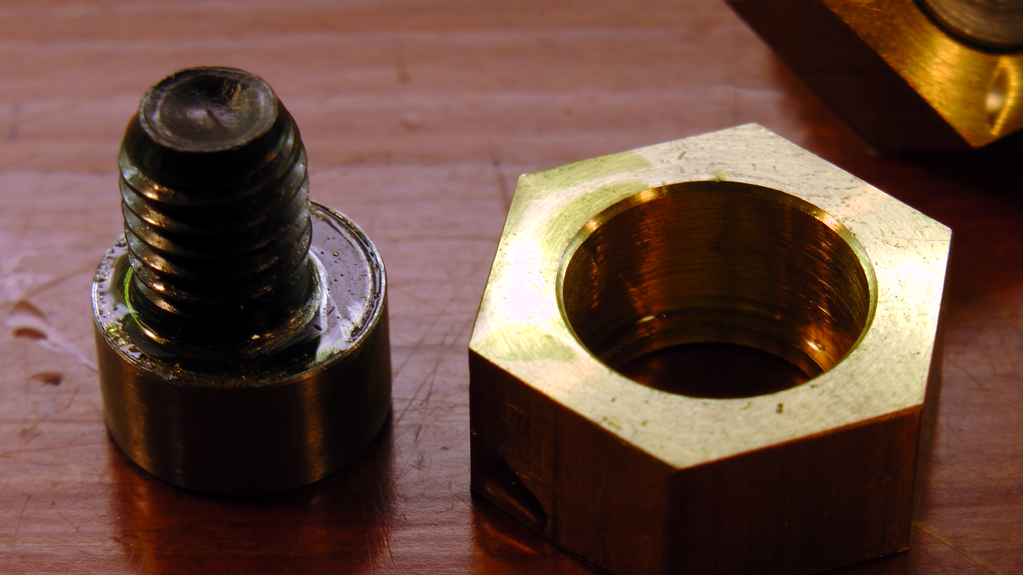
The clamping force comes from the eccentric head shifting the hex washer towards the part.
|
|
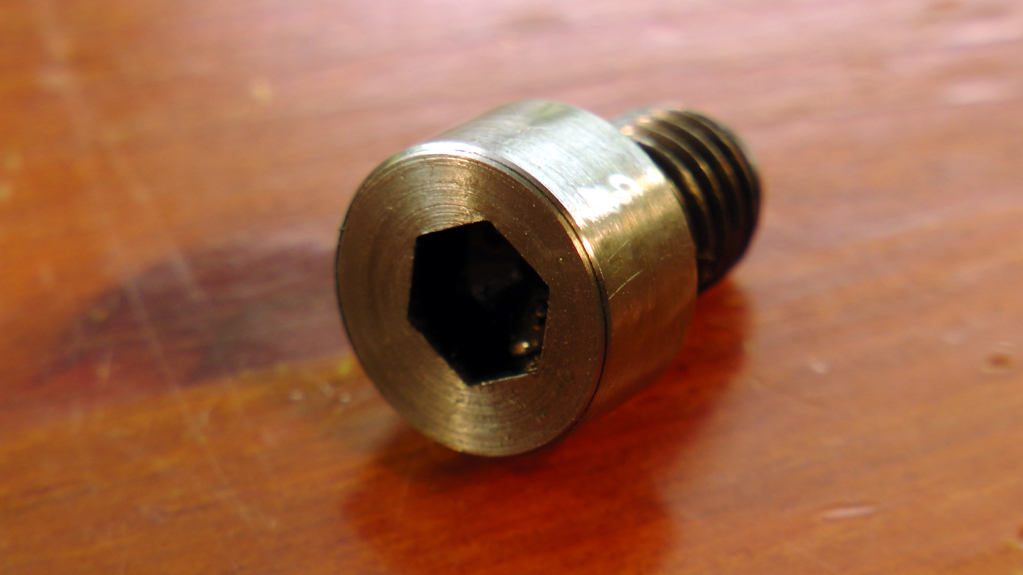
Eccentric head
|
The eccentric screw sits inside the shouldered hole.
|

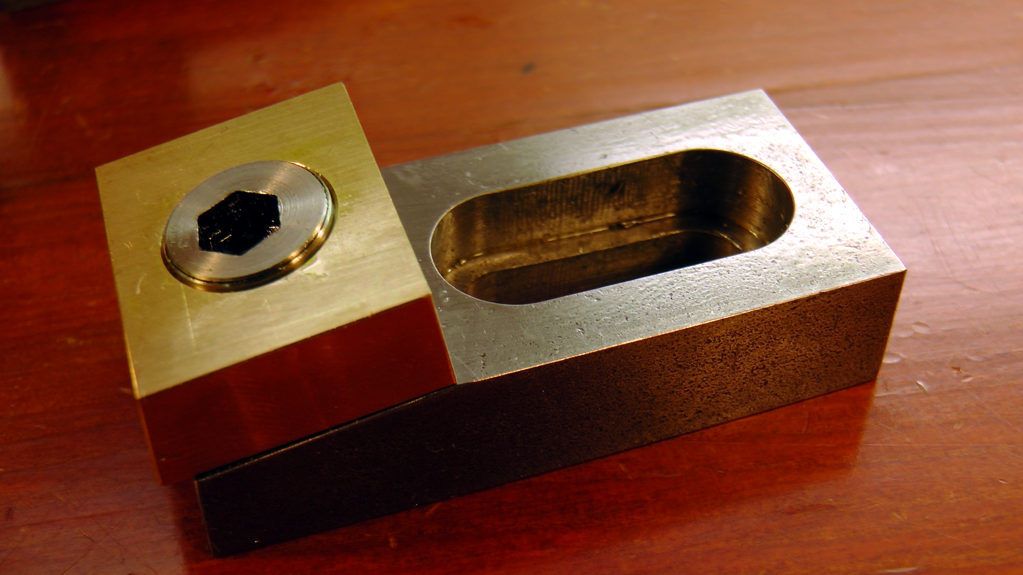
Slimline version, for super thin parts
|
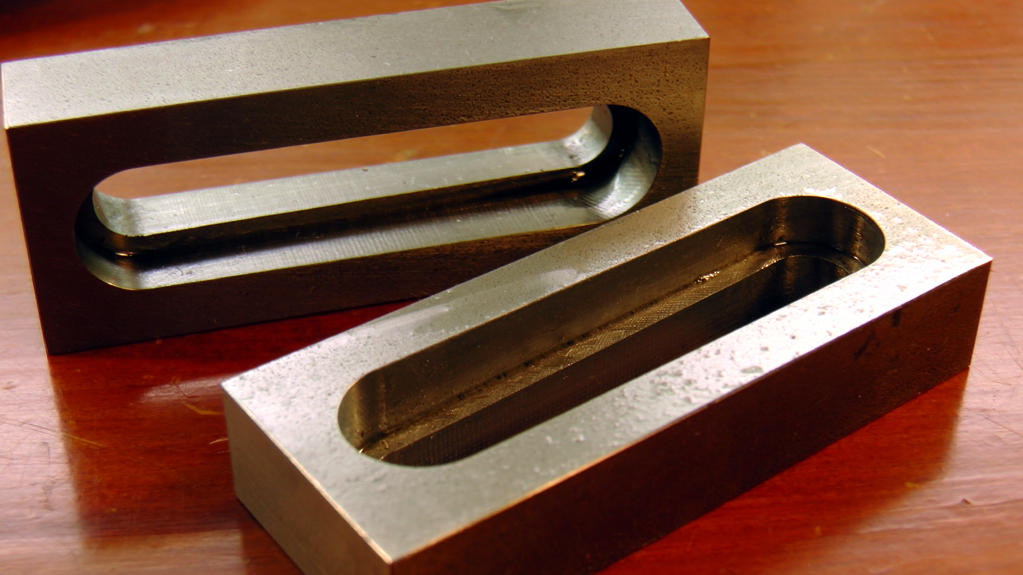
These are similar to the idea above, but they shift the clamping force a little higher up. They also provide a small downward component to the clamping force. The slot also means that the clamping nut can be moved to a more convenient location; The mitee bite's have to sit right on the threaded hole.
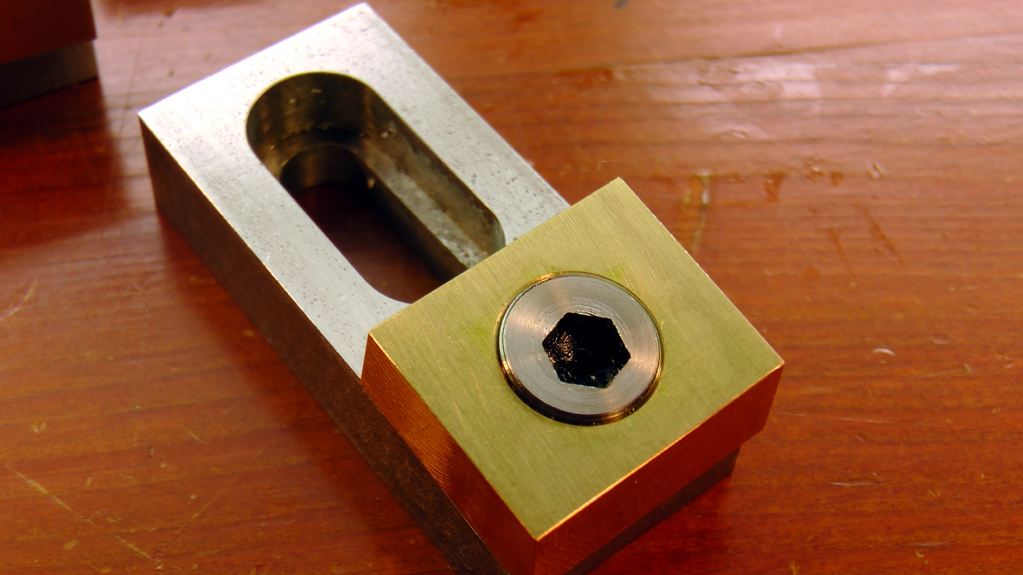
Again, useful if the entire top of the part needs to be machined. The last photo below shows the components that work as a 'stop', against which a part can be pushed, before clamping with the other tools.
Again, useful if the entire top of the part needs to be machined. The last photo below shows the components that work as a 'stop', against which a part can be pushed, before clamping with the other tools.
|
|
|
A 'stop', to butt the work against.
