Large Diameter Flycutter
 This is one beast of a fly cutter
One of the things we all strive for is a decent surface finish on the mill, particularly for larger work-pieces. A brand new end mill can deliver a great finish, but its narrow diameter means that there will inevitably be a striped finish to the part, no matter how perfectly the mill is trammed.
One way around this is to have an extra large flycutter, with a diameter large enough to encompass the whole workpiece. The large diameter means that it can deliver a single pass cut over the entire surface, thus removing the multiple pass pattern generated by endmills.
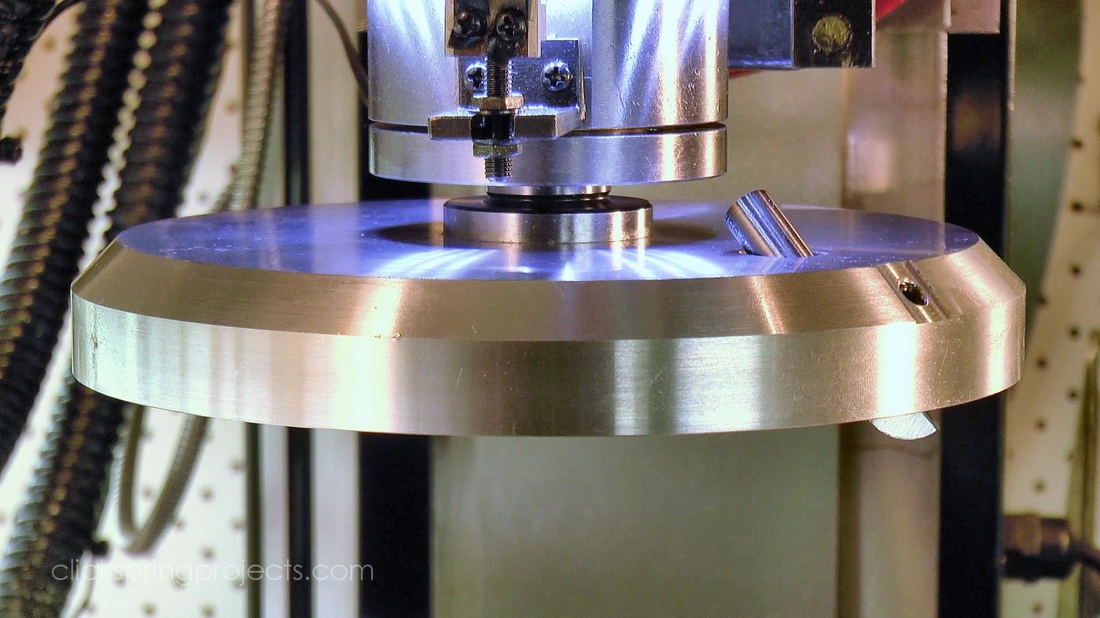
This is my version that I made before I started making videos, so I don't have a build video to show you, but the construction is relatively straight forward. It has a diameter of 180mm, and was turned from 20mm aluminium plate, so there's a decent mass rotating when its cutting. This mass serves to stabilise the cut, and it also tends to prevent the cutter from slowing down during each cut, which assists in generating a good surface finish. A shouldered recess was turned in the center of the aluminium disc, and a MT3 arbor fixed in place. The whole cutter fits into the MT3 spindle of my mill, and is held in place with a drawbar. The cutting tool is round 3/8" HSS, held in place with a single grub screw, and is well balanced without any efforts to provide an opposing counterweight.
One way around this is to have an extra large flycutter, with a diameter large enough to encompass the whole workpiece. The large diameter means that it can deliver a single pass cut over the entire surface, thus removing the multiple pass pattern generated by endmills.
This is my version that I made before I started making videos, so I don't have a build video to show you, but the construction is relatively straight forward. It has a diameter of 180mm, and was turned from 20mm aluminium plate, so there's a decent mass rotating when its cutting. This mass serves to stabilise the cut, and it also tends to prevent the cutter from slowing down during each cut, which assists in generating a good surface finish. A shouldered recess was turned in the center of the aluminium disc, and a MT3 arbor fixed in place. The whole cutter fits into the MT3 spindle of my mill, and is held in place with a drawbar. The cutting tool is round 3/8" HSS, held in place with a single grub screw, and is well balanced without any efforts to provide an opposing counterweight.

Mounted on a MT3 Arbor with draw bar thread
|
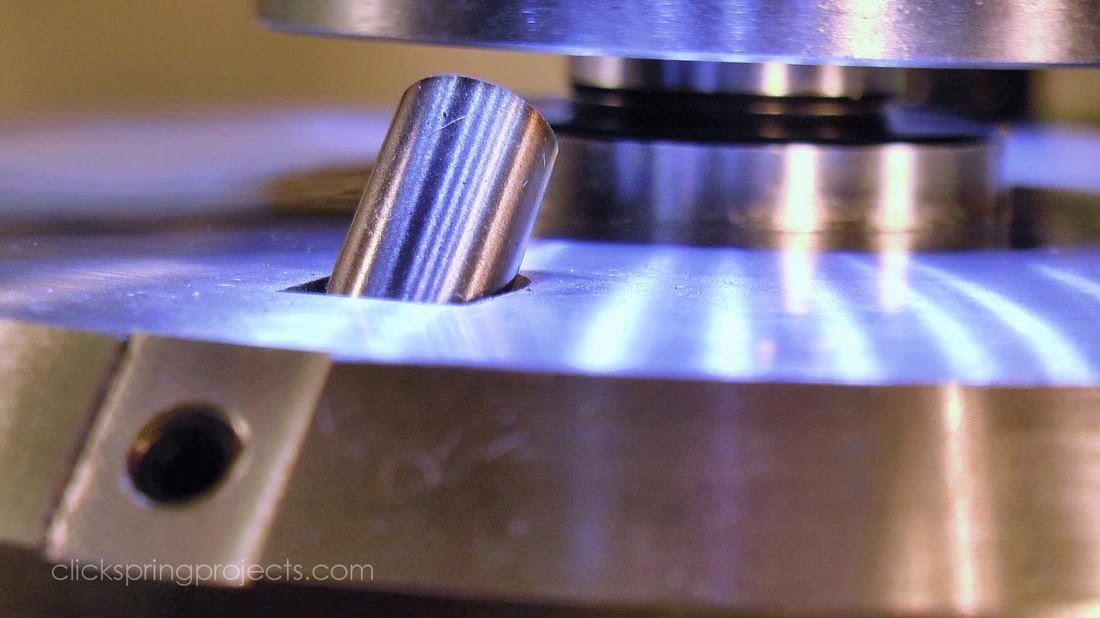
HSS cutting tool held in place with a grub screw
|
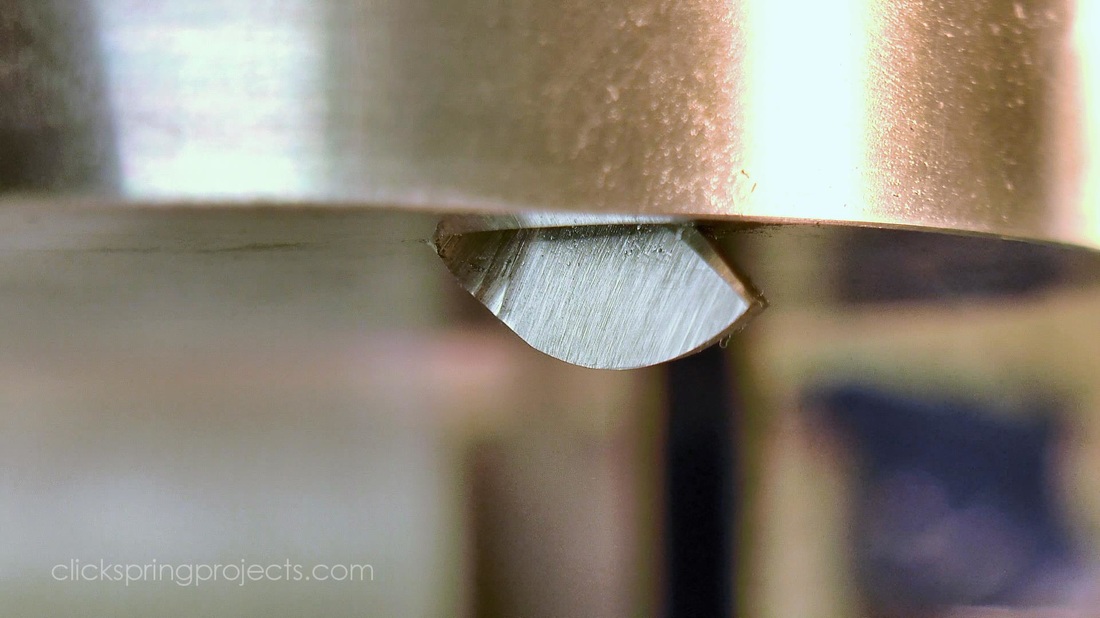
Large radius on the cutting tool
|
One of the keys to its performance is the large radius ground into the cutting tool. I first learned about the benefits of a large radius on flycutter tool bits from a thread on madmodder.net (which I can no longer find). After experimenting with a few angles and shapes, there was no doubt in my mind that a generous lower arc on the tool bit significantly improves the surface finish. Adequate relief clearance is also important - its very easy to grind insufficient relief behind the cutting edge, and have that part of the cutting tool drag on the workpiece.
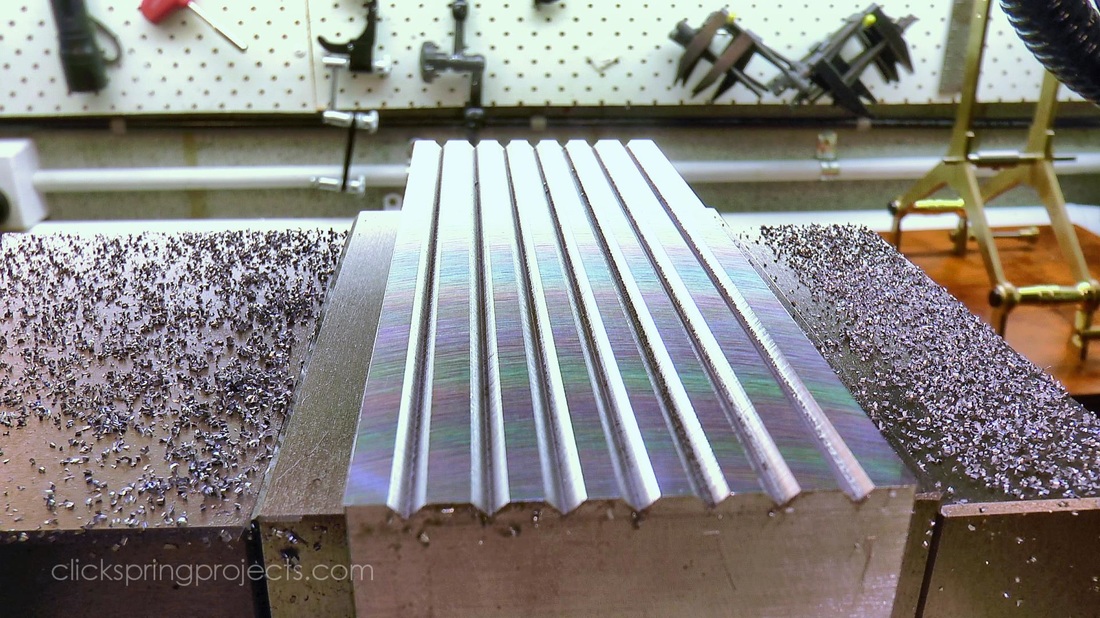
I find I can run this fly cutter quite hard (3mm DOC) for stock removal/roughing, and it cuts through aluminium and brass like butter. I can then back it off to a few thou DOC for finishing passes, and it leaves that excellent rainbow moire pattern indicative of a superior finish. It's a wonderfully versatile cutter, and well worth the time taken to build it. But beware the flying chips! It will fling them to every corner of your shop, so consider knocking up a few simple chip shields to keep it under control.
I find I can run this fly cutter quite hard (3mm DOC) for stock removal/roughing, and it cuts through aluminium and brass like butter. I can then back it off to a few thou DOC for finishing passes, and it leaves that excellent rainbow moire pattern indicative of a superior finish. It's a wonderfully versatile cutter, and well worth the time taken to build it. But beware the flying chips! It will fling them to every corner of your shop, so consider knocking up a few simple chip shields to keep it under control.
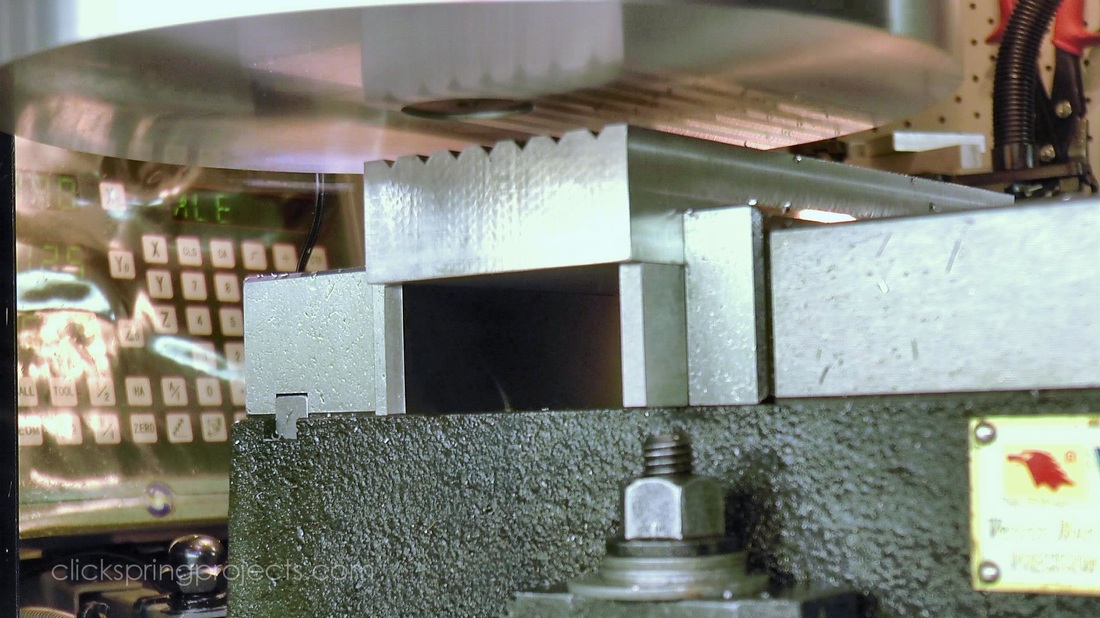
Large diameter can deal with large workpieces
|
It can give a fine surface finish or...
|
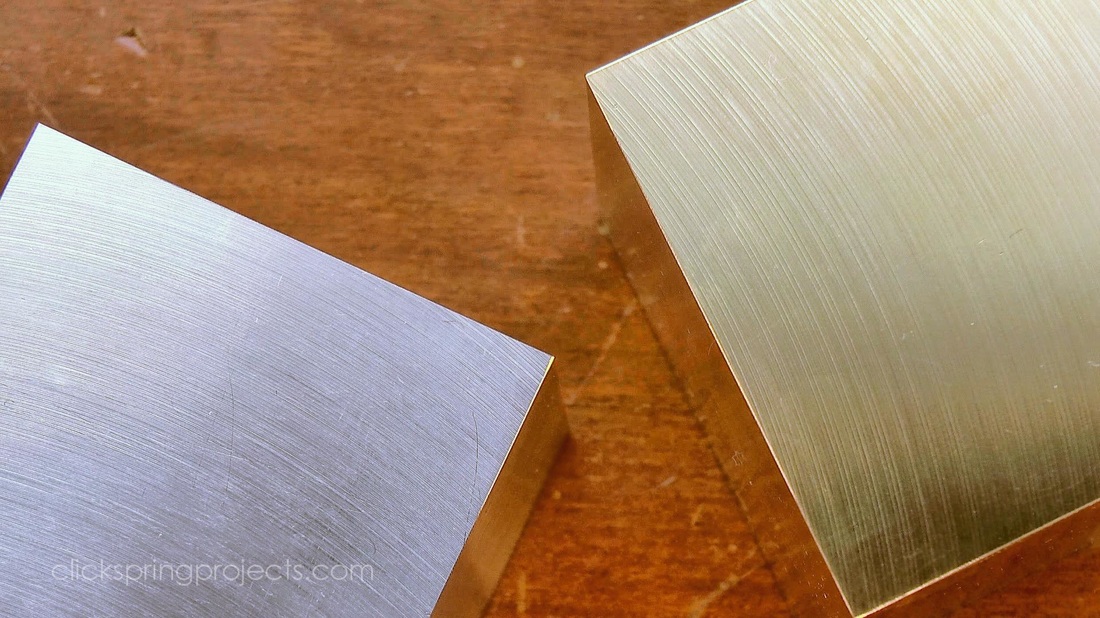
... be used for coarse squaring up of stock.
|
